
It’s taken me a couple of years to really get my mask making technique down so that it looks really good and doesn't look all jankey. Here are some really easy steps so you can see how do it.
Step 1: Materials
Typically I’ll pick up the following things to start a mask.

- Plastic Mask Base (Can be found at Joannes, Michael’s or online)
- Paperclay (Or any pulpy/paper mix that can be sanded when dry)
- Ridged Wrap
- A Roll of Foil
- Hot glue/Glue gun
- Thick Floral Wire
Step 2: Making the Base
Start by taking the foil and molding it into the shape that you want, pack it a bit tight because this will be your mask base. The foil keeps the mask light, but enables you to make it big if need be. Make sure your gluing the foil to the mask in places so it doesn't move around (don’t put the hot glue on the mask first because there is a possibility it could melt the plastic).
Step 3: Ridged Wrap
Ridged Wrap is a soft material covered in plaster, it comes out of the package hard and once wet can be molded to whatever surface and whatever shape you want it to be. Just make sure your watching your water dip bowl if you have pets because my crazy cats like to drink it and that’s probably not the best idea. Cut the wrap into smaller pieces and place it over the mask foil base that you have made. Make sure your smoothing it out as much as possible to conform to your base the way you want. Once dry it will look like the mask below, I was working on a dragon and you can see that I have almost fully wrapped the mask, I even started making horns out of foil as well.
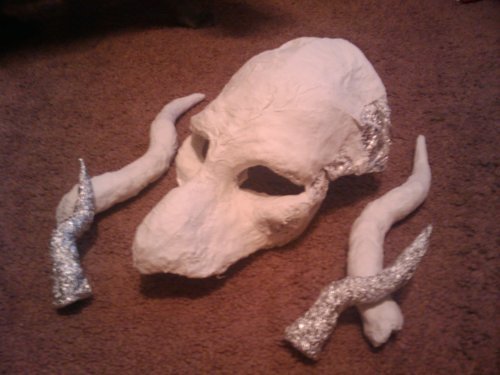

The next image shows the final Ridged Wrapped mask and the start of the next step (Paperclay) horns being glued on.
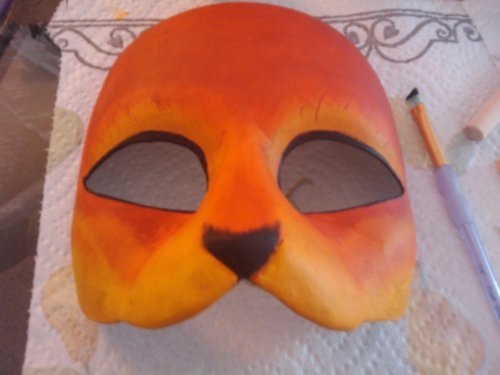
Step 4: Paperclay
Paperclay is a really easy to use material that is pretty much a very clean version of paper mache. Once dry, it can be sanded for a smoother effect which is why I like it so much. It’s kind of a pain in the ass to work with to get smoothed out and this process takes a while but it’s worth the effort and it sticks to the dry Ridged Wrap quite well.
Cover the whole mask with a thin layer of paperclay, if you make it too thick the mask will be too heavy to wear. Keep in mind that once it drys the paperclay will be lighter after the wetness/moisture evaporates.
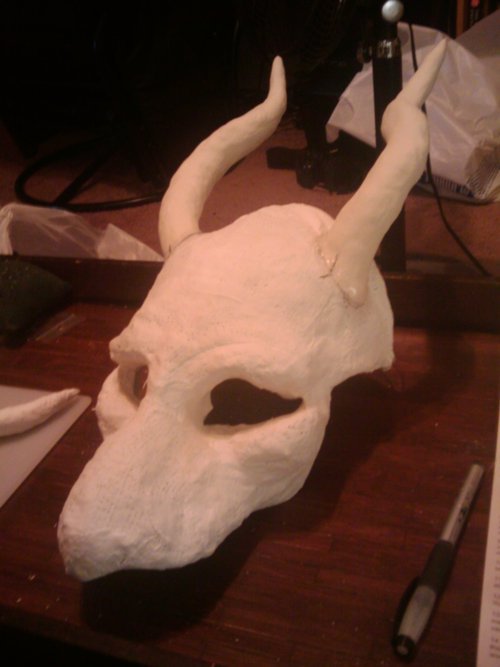
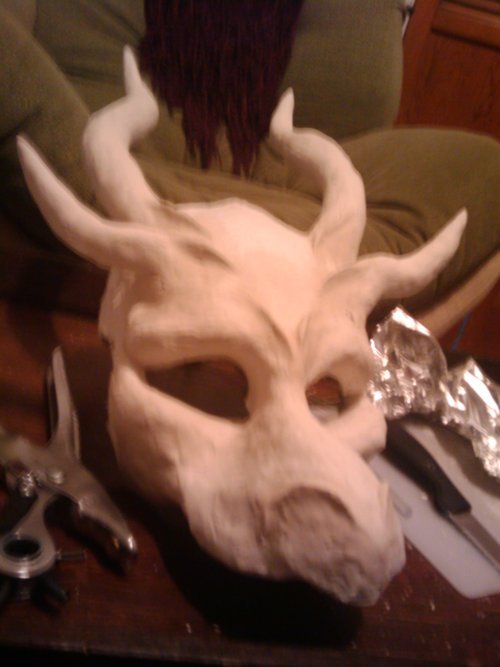
The image below shows somewhat of a two step process, the mask and horns were covered with paperclay (the horns I did before the mask and glued them on prior). Some of the small details like the nose and forehead ridges were added with paperclay for a better effect (sorry about the bad pics, camera phone was terrible at the time).
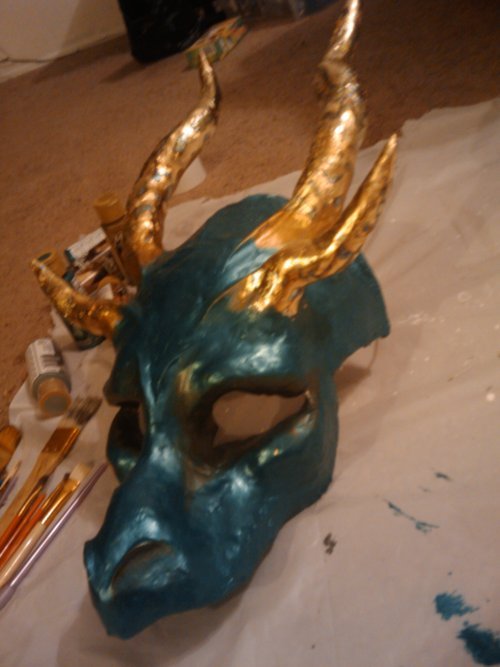
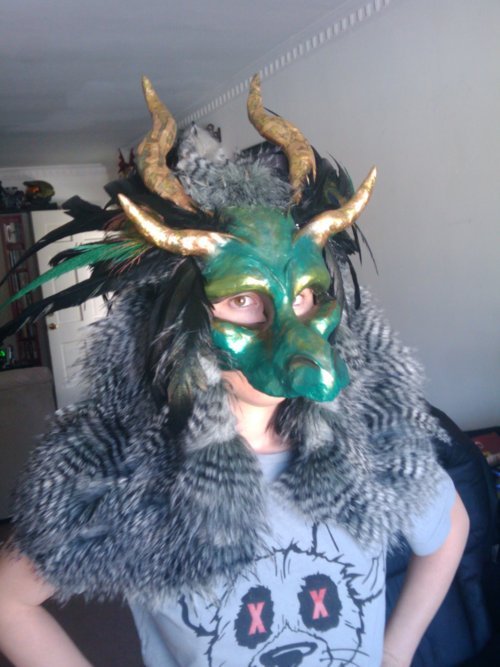
Step 5: Paint
Time for the fun part! Painting your mask! This is pretty self explanitory, but I would like to mention that once I painted the horns gold, I then put “Gold Leaf” on them to give them a metal look.
Step 6: The Head Strap
I don’t exactly have a picture of this so I am going to do my best to explain it. Lighter masks without all of the fancy like the one below only really need a simple elastic band or so to stay on comfortably.
However, the dragon monstrosity that I have made for the tutorial requires that I use some floral wire in a “T” shape. The “T” consists of 3 holes in the mask, the right, the left and on the very top of the mask. Measure the mask to your head and put the first piece of floral wire though the left and right, twist to secure. The second will start from the top and secure to the first piece of wire in the middle making a sort of “mask helmet” for you to wear. It’s EXTREMELY beneficial to make a helmet shape when you have something as front heavy as my dragon.
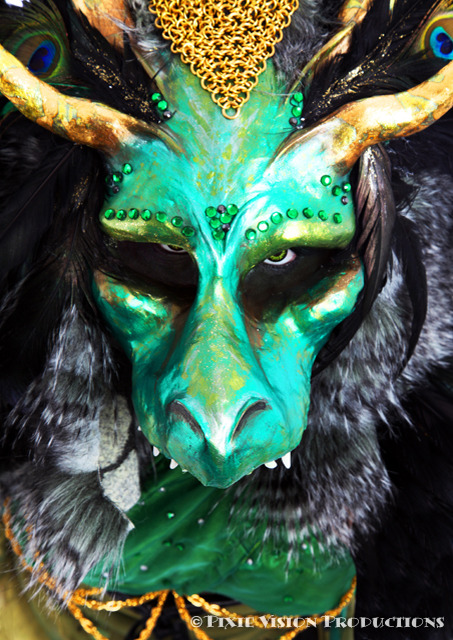
Step 7: Finish
Add feathers, add fur, add a cowl under the choice is yours! Get creative with it, but I have always found that feux fur makes an excellent base for “feather extensions”
And here is the finished mask!
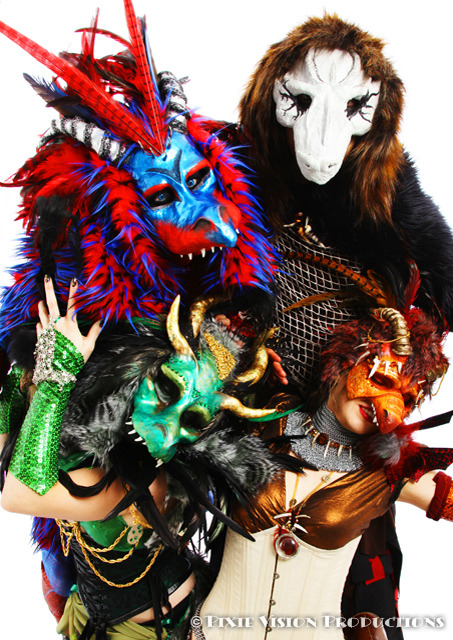
The pics above were taken at the Labyrinth of Jareth Masquerade Ball 2011 with Pixie Vision Productions. All of the masks you see in the pic were made with the same technique as mine. Happy Mask Making!
wow amazing work. will definitely use some of the tips from this on my next mask.
ReplyDeleteThank you very much, I'm glad I could be of help!
Delete